Quick Links
Getting Started
Before you can begin printing off your beautiful essays and pictures of cute cats from the internet, you'll need to get some stuff set up first.
The following sections will instruct you on everything you need to do to get started.
Before you get started
First, Register Your Student ID Card with Papercut
You need to register your student ID card with Papercut and the Ricoh multifunction devices first before you will be able to print.
-
Ensure the Ricoh multifunction is on and showing the login screen
-
Hold your student ID card over the card reader, when it scans your card the display will read Associate Card with Account
-
Press Username and enter your VIU student computer account username
-
Press Password and enter your VIU student computer account password
-
Press OK
-
Press Login
-
You will get a confirmation that your card is associated with the Ricoh MFD. If you get an error, tap your card again and enter your correct VIU student computer account username and password.
You have now successfully registered your student ID card with the PaperCut system.
Now, each time you tap your ID card on the card reader of a Ricoh multifunction, it will sign you in, and you can see what documents you have printed that are waiting to be released.
Use the touch screen to release any print jobs you have waiting.
Add Funds to your PaperCut account
You pay for printing by having funds in your PaperCut account. Your account will be debited when you choose to print your print job from printer(s). Please note that amounts added to your account for printing are not refundable.
You can add money to your Papercut account in one of two ways:
-
Buying credits online with a Visa or Mastercard credit card.
Please see our page on How do I Buy Papercut Credits Online? for further details on this step.
-
Buying a pre-paid print card from the Campus Store and redeeming it.
Please see our page on How do I Redeem a Prepaid Print Card? for further details on this step.
Now that you have added funds to your account, see the next sections on how to add the FindMe printer, send print jobs, and release them from the printers.
Print to FindMe
What is FindMe?
FindMe is the Papercut print queue you print your documents to. You can then release the print job on any Findme (Ricoh) printers at any VIU campus.
-
If you are on a personal device or a Mac, you will need to install the FindMe queue on your device. Please see printing from my own computer for further details on this step. If you are on a VIU-issued Windows computer, you can skip to the next step.
-
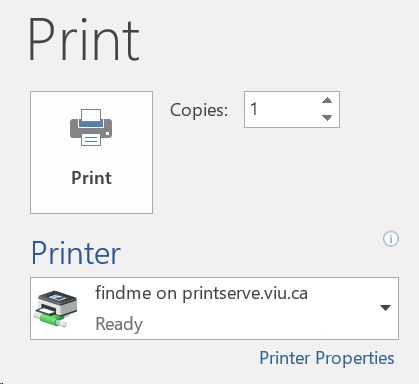
Print Your Document
Choose findme on printserve.viu.ca as the destination printer.
-
Release Your Print Job
-
Head over to the desired printer and tap your student ID card on the printer's card reader to login. First time users will be prompted to authenticate the card.
You will only have to do this once and your card will work at all Ricoh devices. Please see Register Your Student ID Card (above) for instructions.
-
From here, you can either select "Print All" or select "Print release" in the bottom-right corner and select which print jobs you want to print (you may also delete jobs from this menu if you changed your mind).
-
Remember to log out by either tapping "Log Out" in the top-right corner or by tapping your student ID card on the printer's card reader again.
Need help? Email us at ithelp@viu.ca.
FAQs
What is the printing refund policy?
Papercut is smart enough to know when a print job has successfully printed and will automatically refund any pages that it could not print or were not actually printed.
Refunds will only be provided on the following basis:
- Fading or streaked printer toner. Document has to be produced if requested.
- Lost print jobs due to printer hardware failure where job does not resume printing.
Refunds will not be provided for:
- Unspent balance on VIU Papercut accounts.
- Wrong print job or print job settings (double-check before you print!)
How to request a refund: Log into your Papercut account at VIU Papercut (you cannot log in unless you are connected to the VIU network!)
Click on 'Recent Print Jobs'
- Navigate to the print job in question
- If your job did not print click 'request refund' and provide a detailed explanation
Funds will remain in the printing account for one year after graduation after which the printing account will be deleted.